Posts

Showing posts from April, 2022

Mexican Chimineas

Image
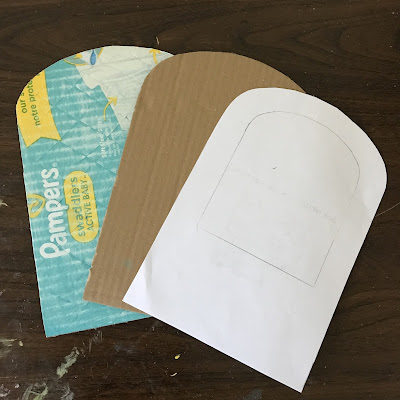
  The instructions for this version of the chiminea are below.  The chiminea itself is made from a recycled POM juice bottle.  The base is made from a recycled aluminum soda can. This is a chiminea I made about a year ago from the same type of bottle.  The base of this one is a juice bottle lid.   I liked the juice lid because the arches sort of repeat the arch-shaped pomegranate leaves on the POM bottle.  The drawback is that the lid doesn't raise the chiminea off the floor as high as I would like. I wasn't happy with how wide I made the fireplace opening on this one.  Notice that I also cut the top of the bottle differently. Step one:  carefully cut the POM bottle apart between the two rounded sections.  I use a thin knife or craft knife the make the initial cut, then use scissors.  You can save the bottom section to make a cauldron or large planter. Step two:  cut off the threaded section of the bottle.  A dremel tool is idea for this, but a small saw works fine, too.  Smoot

Mini Serape Wall Decor

Image
  You can use striped scrapbook paper or this  free printable.  I cut the printable as shown above to make two decorations with symmetrical stripes.  (I glued the two tan/red/green sections together.)   Starting at one short end, start folding the paper back and forth, like folding a paper fan.  Make the folds narrow:  try for one-quarter inch thickness. Do your best to fold and crease the paper only in the center.  The ends of the paper should ripple as shown  instead of having a sharp crease.   When you get to the end of the paper, cut off any excess.  Your starting and ending folds should face the back, so the colored paper is visible from the side when hung on the wall. Run a glue stick along the center back of your decoration, then pinch the folds back together in the center. You may want to put some glue between the front folds as well.  It's not really necessary since you're going to wrap the decoration with twine. Cut about 2 feet of jute twine, or string, yarn, embroid

Free-Standing Mexican Tiled Fountain

Image
  Make your own fountain using recycled cardboard:  For a free-standing fountain you can display wherever you want, cut a back out of two pieces of cardboard in whatever shape you like.  I used the large arch template available  here .  For strength, cut one back piece with the cardboard corrugation going sideways, and one with the corrugation going up and down.  Glue the two back pieces together and set aside to dry. Cut a base for your fountain out of cardboard.  For a rounded base, I traced this jar lid, but you could easily make a square base using a tissue box.  Make whatever shape you want! Roll your semi-circle along a ruler to see how wide a rectangle you'll need to cut from cardboard to form the wall of the fountain pool.  Add a half inch to the length to give some slack.   I cut my fountain wall 2.25" high based on a doll chair because I want my dolls to be able to sit on it.  If you have a lot of long-legged dolls like Integrity dolls, you can make your cardboard re