Mermaids! A Monstrous Journey

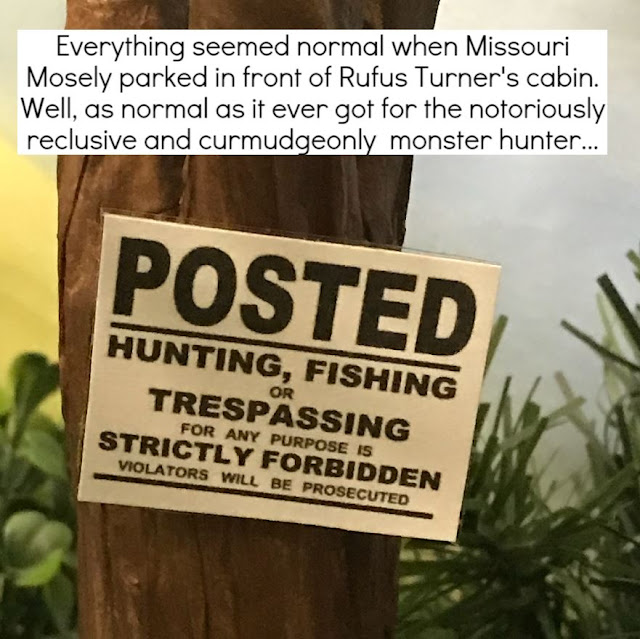
Mermaids as monsters? How could this possibly be? Sam and Dean would tell you that modern mermaids have had a very successful re-branding as cute and harmless princesses of the sea. But they do have a darker past which the intrepid monster hunter can find if they dig deep enough into the lore.
Mermaids were originally known as sirens: outwardly lovely, but their beautiful and haunting songs lured sailors to their deaths. Long before Disney's Ariel, the House of Mouse featured mermaids true to this lore with the mermaids of Neverland. Here they are trying to drown Wendy Darling:

Comically inept, but hey, it was a kid's movie after all.
Another huge movie franchise, the Harry Potter series, had some truly monstrous mermaids called selkies. (The original selkies of lore were Scottish shapeshifting seal-people.)

In the end, though, my dolls will have to wait for another time to be turned into true monsters. For Dollstagram's massive, month-long mermaid-themed celebration, MerMay, I decided to take eight characters from my stories and reimagine them living under the sea.
All eight needed mermaid tails, plus I decided to give Kiki, the mermaid doll I made last year, a new tail. So here in exhaustive detail is how I made these easy mermaid tails. Because there are so many different body types of doll, instead of a pattern, these directions will show you how to make a custom tail for any shape/size of doll.
First, choose a stretchy fabric. My first choice was an old T-shirt. Polyester doubleknit, nylon, and cloth cut from old swimsuits or nightgowns/lingerie are all good choices if you're recycling. When buying new, many fancy, "special occasion" fabrics like satins and sequins come in stretchy options perfect for glamorous and beautiful mermaids.
Using your doll as a guide, cut a piece of fabric that reaches from the doll's waist to just below the toes. (If your doll has ankle articulation, point their toes down.)

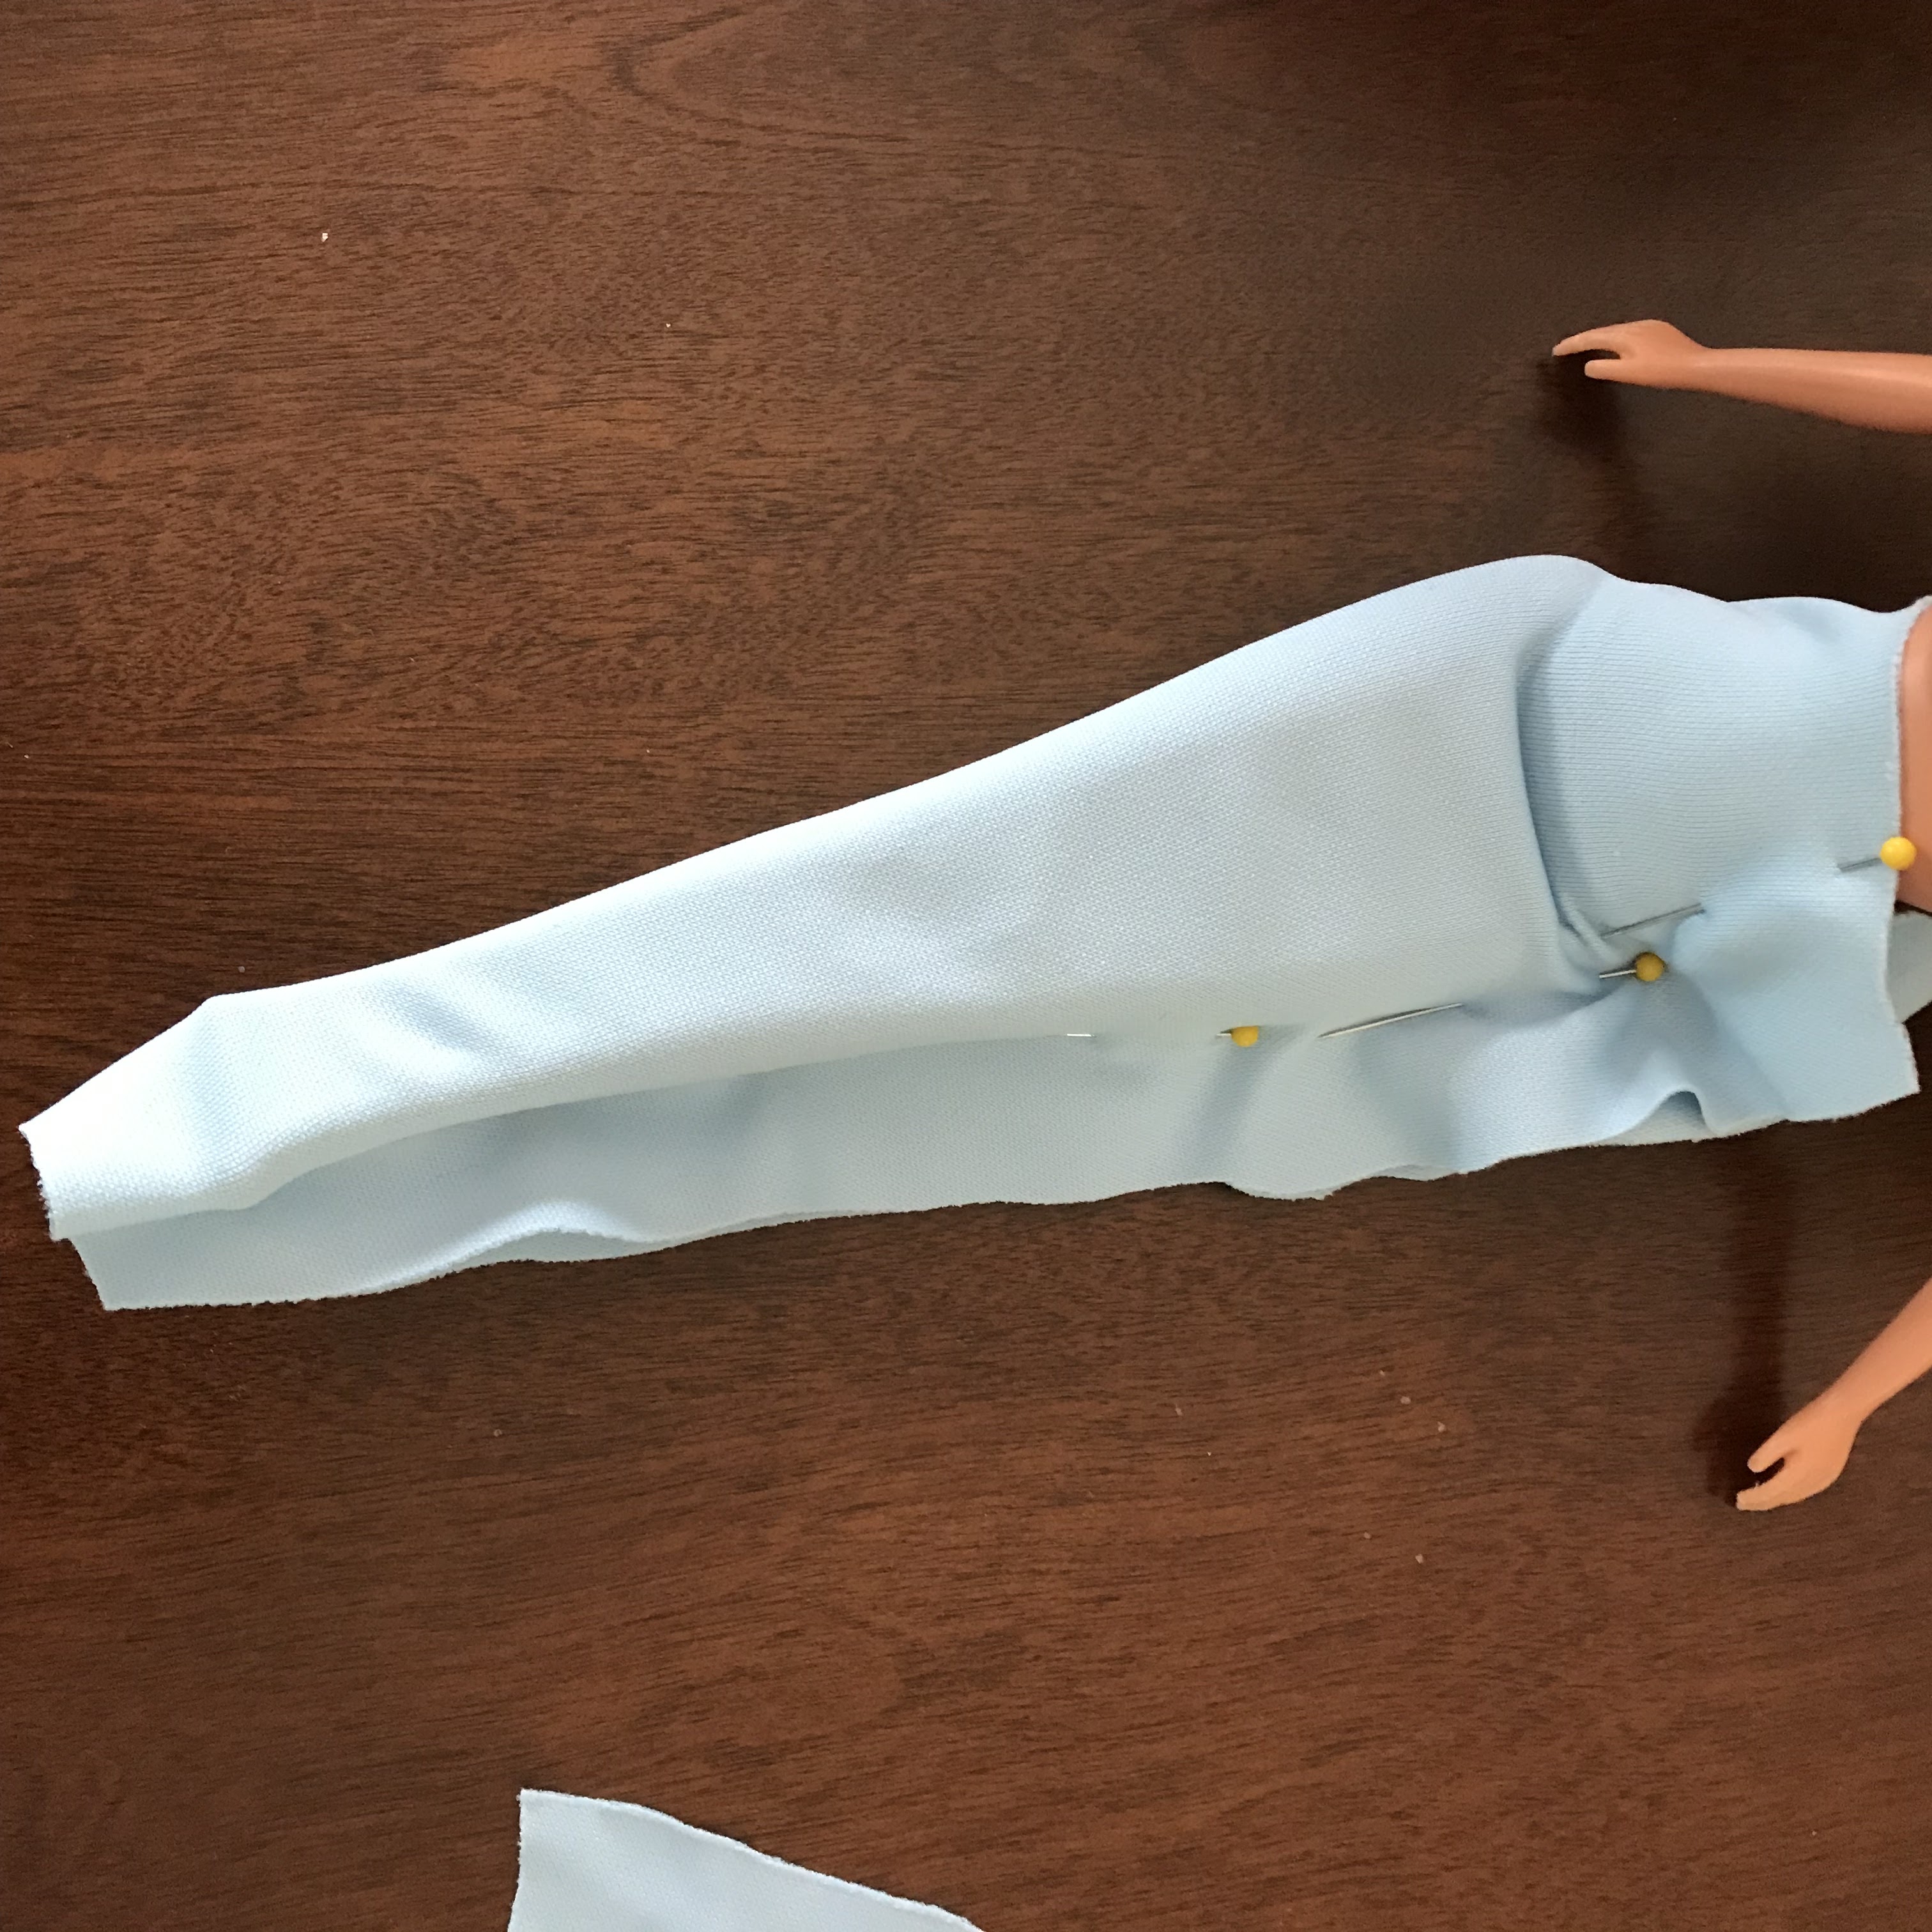
Wrap the fabric around the doll and pin, following the shape of the doll's body.

When pinning, keep the fit snug but not super tight. Too tight, and the tail will be hard to take off and put on. See below: I pinned the cloth close to the doll's body, but I can still pull it tighter; there is room for the doll's legs to bend and room to pull the tail off over the hips.

After you have it all pinned, cut off the excess fabric. Leave yourself a generous seam allowance. *
Sew along the line of pins by hand. The stitches don't have to be perfect, but try to keep them small. One-quarter inch long or less is ideal for the size of each stitch. Try to keep the spaces between stitches small, too. A matching color thread is best but any thread will do.

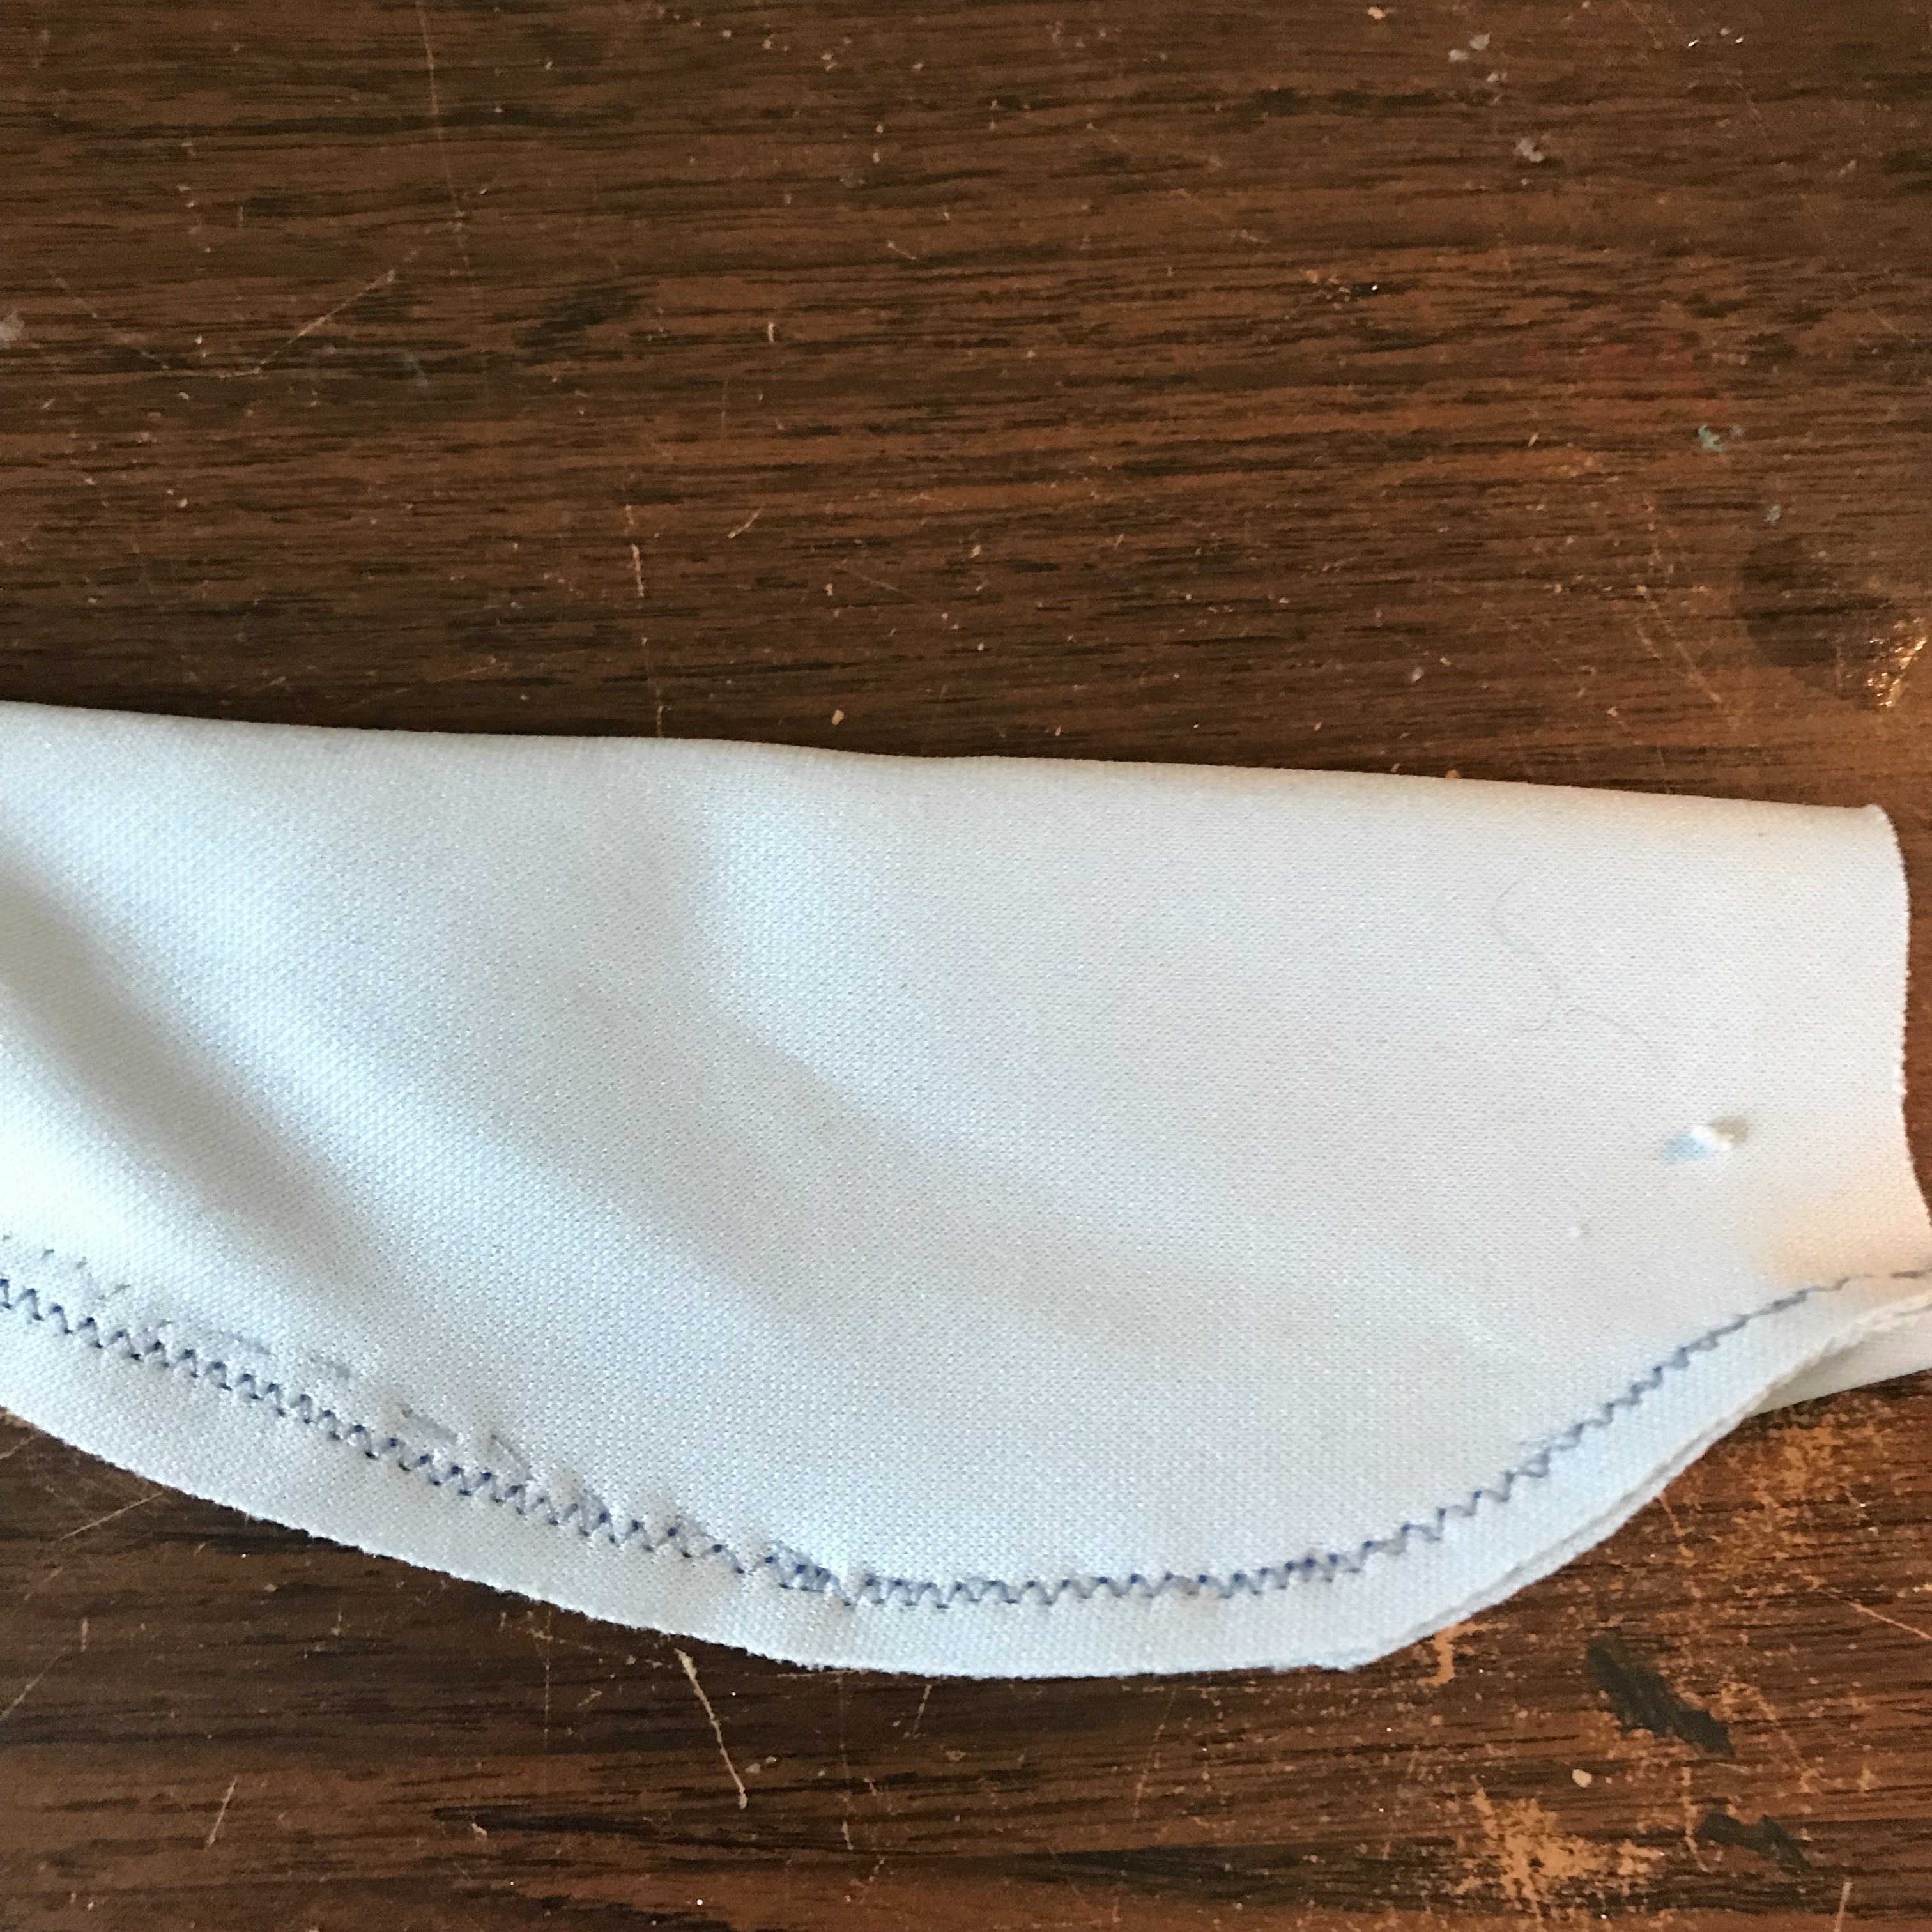
You can reinforce your hand-sewn seam by sewing over it again, either with a sewing machine or a second time by hand. Trim the excess fabric to a quarter inch or eighth of an inch. Below is Rufus' tail made from an old T-shirt. You can see the machine sewn seam and quarter inch seam allowance:

Turn the tail right side out and put it on your doll. Rufus is showing off how he can stand balanced on his tail. Let's hear it for GI Joes and their big, flat feet with sturdy ankle articulation!

The doll should be able to bend and pose as usual inside their new tail:

* Note: if you are confident in your pinning skills, you can cut away the excess fabric, remove the tail from the doll, and machine-stitch your seam immediately. After sewing 5 tails by hand with the pins in place, I was confident enough to pull off the last 4 tails and sew them on my machine. (You will have to remove the vertical pins and re-pin the seam horizontally if sewing by machine.)
On to making the fins! (Be sure to scroll down before sewing to see tips for your dolls to live their best mermaid lives.
Fins: You can make any shape/style of fins you like. I made two fins per tail, using a very basic "flower petal" shape which look like a tail fin when attached next to each other. Sketch whatever design you like*, then add a quarter-inch seam allowance all around the sketch. Cut out your paper drawing and use it as a pattern. Cut two pieces of fabric--a front and back--for each fin.
* Note: for symmetrical fin designs, it is a big help to fold your sketch in half before cutting it out. Fold in half and cut to eliminate any discrepancies between the two sides of your sketch.
Pin your fin pieces together, good side to good side. Think of it like making a pillow, only fin-shaped. Sew all the way around, leaving an opening at the top:

Clip any curved parts as shown below. Clip any points, also shown below. This will help the fin keep its shape when you turn it right-side out. (Clip any curves on your tail, too, such as the curve of the doll's hips.)

Turn your fins right-side out and press, if needed. (I find that doll things are so small, the warmth of your hands is usually enough to press any seams, no iron needed.)
Gather the top edge of the fin(s) so it will fit inside the bottom opening of the tail. You don't need to use a machine or do anything fancy; a few hand stitches are all you need. If you chose to use two fins like I did, sew them together at the top with a few hand stitches.Put the top of the fin inside the bottom opening of the tail. Pin in place. Sew the fin on by hand. Try to make your stitches inconspicuous: a small stitch on the outside of the tail and large stitches, if needed, on the inside where they will not show. It only takes a few stitches to secure the fins. 6 or 8 stitches should do it.Alternately, you can gather and attach your fins with hot melt glue. Be sure to use a low setting if your fins/tail are made of a delicate fabric!
.JPG)
.JPG)
.JPG)
.JPG)
Sewing Tips and Hints:
Most sewing machines do better with a zig-zag stitch for stretchy/knit fabrics. (Ironically, mine does not. I just forced it to zig-zag for this photo.) If you are having trouble feeding stretch fabric/knits through your machine, switch to the narrowest zig-zag setting. The fabric should feed through with ease, and the finished seam will look like a regular straight stich. (Again, don't go by the photo below. I got my machine used and there is apparently something wrong with my zig-zag settings.)
If your doll has curves, the tail may wrinkle at the hips/curved parts. There are two ways to avoid this: Clip the seam at the curve as shown above in the directions for the fins.Gently pull the fabric straight as you pin/sew, removing any wrinkles that try to form.
 |
Wrinkles! Egad! |
A textured fabric, like this lace, can camouflage the doll's joints for a smoother look. (This mermaid model is a doll I customized and she has some LUMPY joints.)

If your doll has a narrow waist, you may not be able to get a snug fit at the natural waistline. You can always add a snap or Velcro closure if you want a high-waisted look, or do what I did with these dolls below and just pull the tail down for a low-waist look and an easy fix:

Leave the bottom of the tail open to attach the fins. Cut the tail so it ends just at the toes--or very slightly below the toes if you're worried about length--for the best finished look.

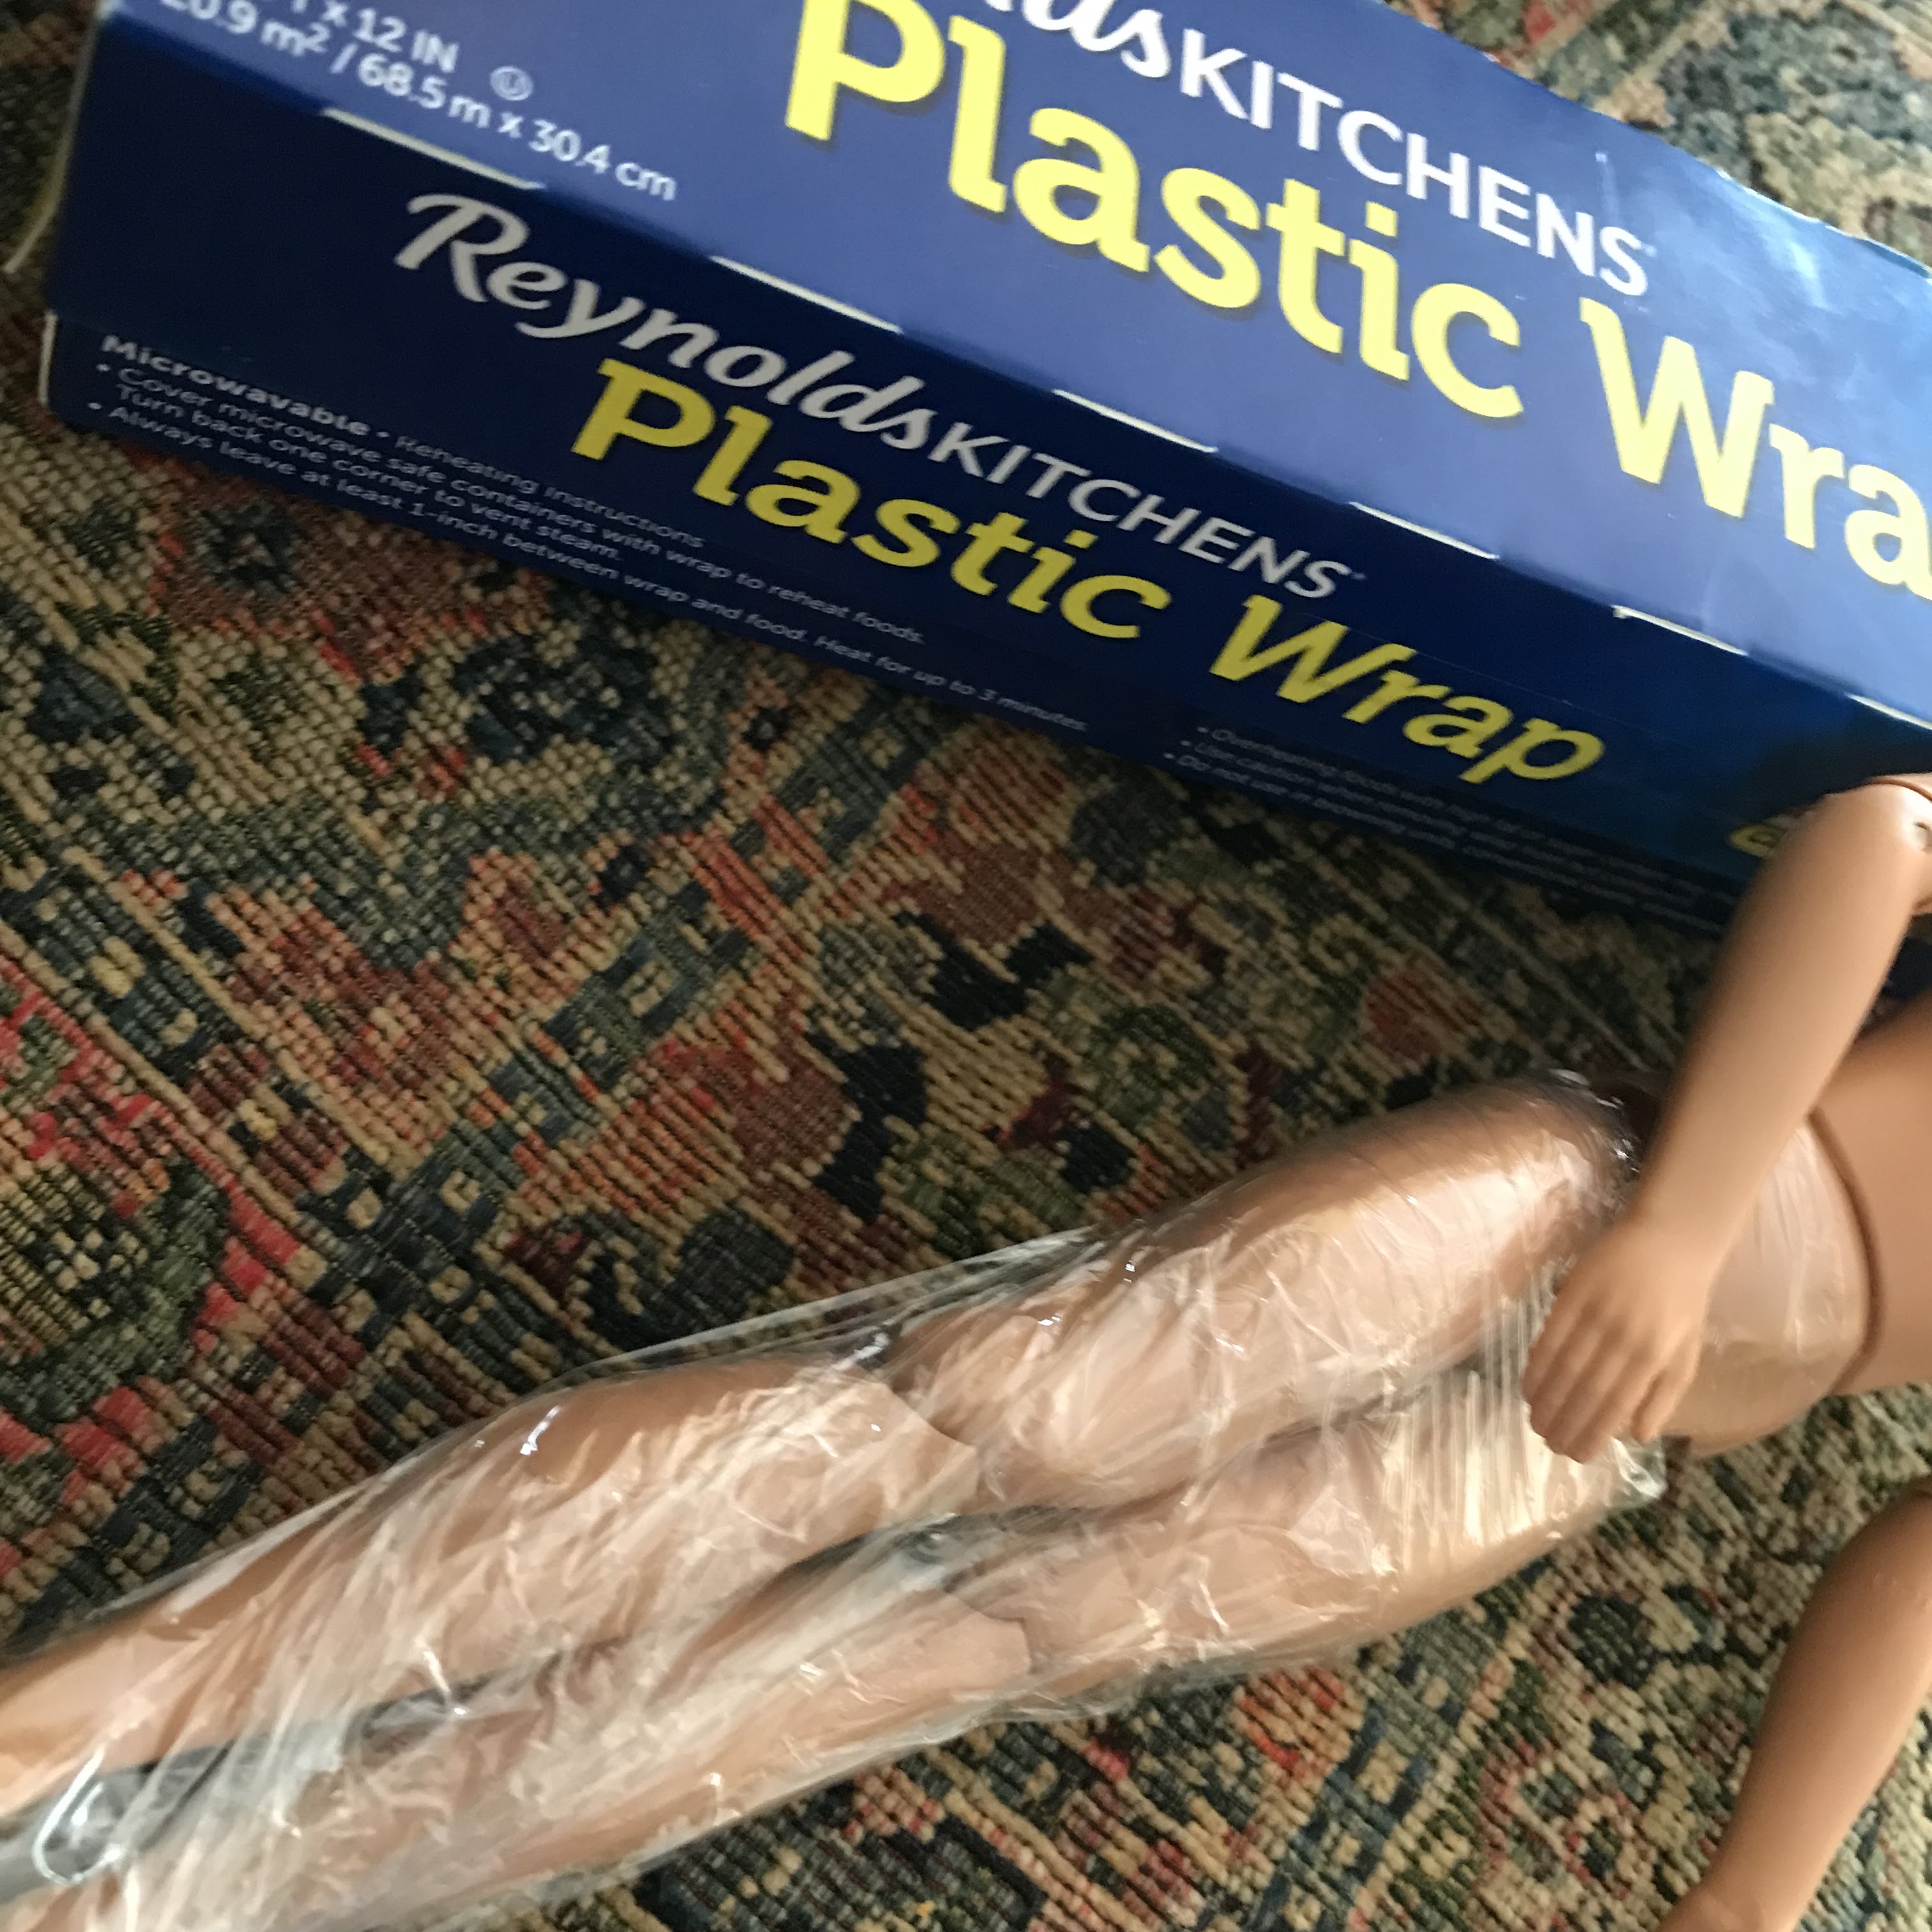
When using a dark color, especially if using new fabric, there is the potential that the dye on the fabric will stain your doll. Wrap your doll in plastic wrap to prevent stains! Better safe than sorry! Stains are expensive and time-consuming to remove.
SPOILER ALERT!
The pictures below show dolls and dioramas I created for MerMay 2022. If you'd rather not see until they are posted on Dollstagram throughout May, don't scroll down any further.
*
*
*
*
*
*
*
*
 |
Ellen and Jo Hardshell in tails made of recycled shirts. Ellen's tail stripes originally belonged to a zebra! |
 |
Their tops are painted shells recycled from an old shell lei. I glued scraps of netting in the back of each shell for a little decoration. |
 |
Last year's mermaid, Kiki, and newcomer Bela Turbot show off matching tails made of recycled polyester doubleknit pants. |
 |
I like how Bela's original earrings coordinate with her mermaid outfit. Kiki is a thrift store rescue. (All pictured dolls are thrifted except for Rufus.) Her hair has been washed, of course, but never boil washed because I think its current rough texture looks "wave-swept." |
 |
Bobber Siren shows off how he, too, can balance to stand on his tail. |
 |
Bobber has a new undersea place of business. What else? A crab shack! In spite of it all, he keeps his same battered trucker cap. |
 |
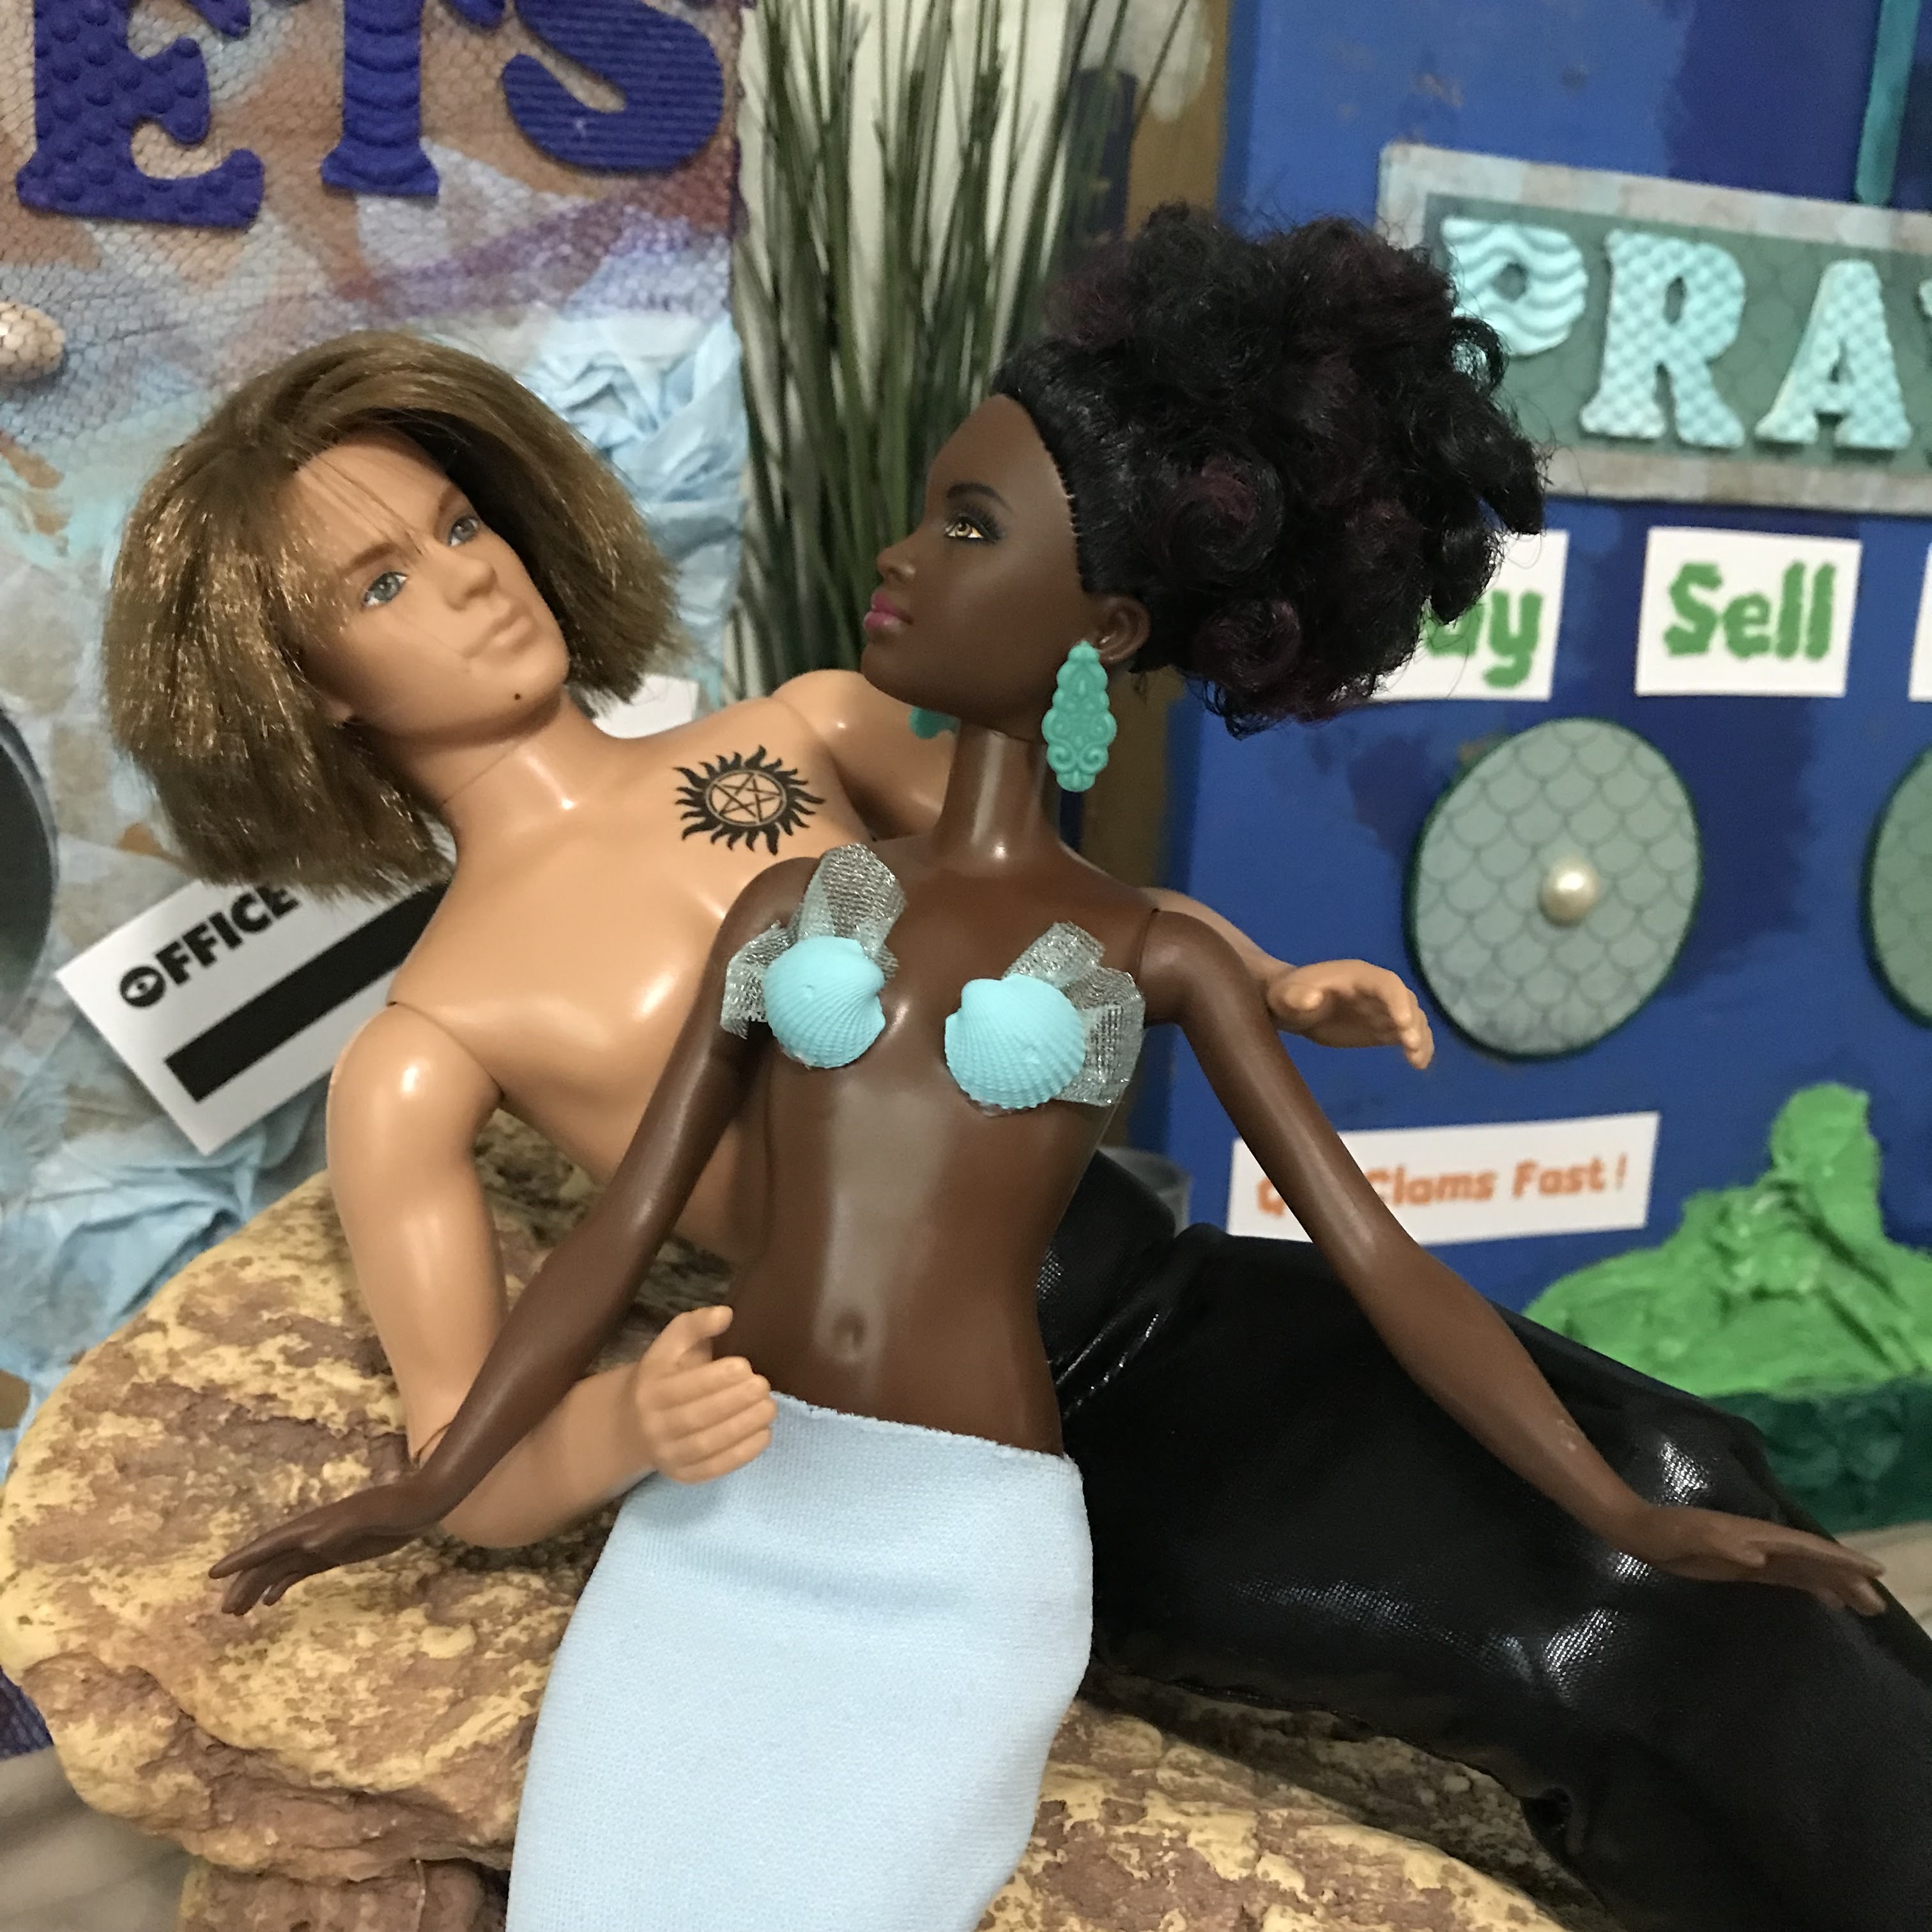
Last year, a human Rufus Turner spent MerMay shipwrecked and romancing Kiki the mermaid. This year he's joining her under the sea as Reef-us the merman. |
 |
I think these two are hooked on each other. I crack myself up. |
 |
Sam Finchester and Bela Turbot... is this their reel life? Or just a fin-tasy? |


Comments
Post a Comment