The Traveling Cantina Build

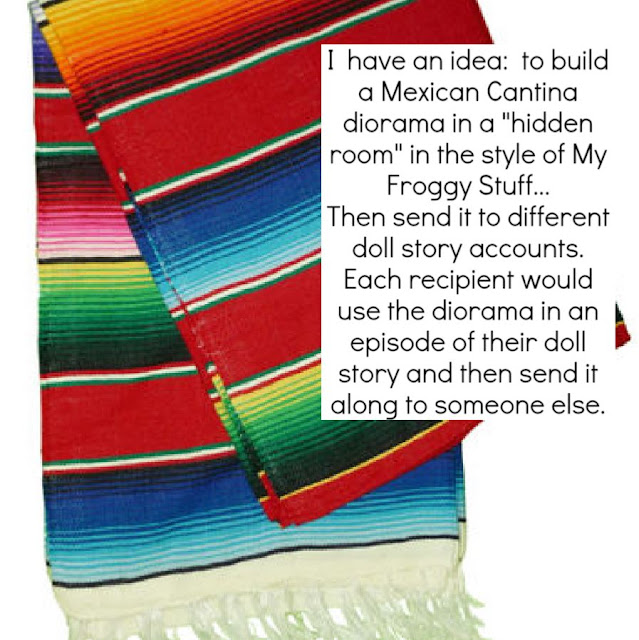
 I presented the idea of a traveling diorama to the "Dollstagram Community" on my Instagram account.  Reception was positive so here we go!


Here is the basic layout for the diorama:


My Froggy Stuff Hidden Doll Room Video
(Hidden doll room instructions start at 2:35.)

On Instagram, I posted items to vote on for the Cantina.  The first vote was for what to put on the right side wall:  fireplace or fountain.  I decided to make a large archway on the left side wall.


I like recycled cardboard for building instead of foam core.  I built the hidden doll room according to My Froggy Stuff's hidden kitchen dimensions, but made it out of two layers of corrugated cardboard.
For strength, the corrugation (the lined middle layer of the carboard) is horizontal on one layer, and vertical on the other layer.

I cut three separate walls:  the center wall is 7"x13" and each side wall is 11"x13".  

I cut three layers for the center wall and two layers for each side wall.

Next, I cut arches for a huge window and a shelving unit recessed into the wall.  You could make your own features, like smaller windows, arched spaces to store firewood, and doors. 


You can use a doll or doll furniture as a guide to determine the height of your room features.


Above, the arches I cut in the cantina's walls, in case anyone wants templates.

Get the templates, free printables, and more right here.

If you would rather use foam core, My Froggy Stuff's Encanto Inspired Kitchen has instructions for making arched recesses in the walls with foamboard covered with printables.  Instructions start at about 8:22.

Encanto Inspired Kitchen Video


The center wall is about 1" thick.  I cut 1" strips of cardboard and framed the wall and the arch using hot melt glue.  Then I added random strips of cardboard to reinforce the wall.


It seemed easier to me to cover the shelving unit with paper mache before attaching the side walls, so I covered the entire structure.


I used Mod Podge and strips of some paper mache paper I bought years ago.  You can also use newsprint, tissue paper, etc.


Next up:  attaching the side walls with cloth hinges.  This page is a work in progress.  More updates to come.


Also on Instagram, I posted photos of some of the things I'd saved to use for a Mexican Cantina diorama.


I decided on Saltillo tiles for the floor, and made a free printable:

Get cantina printables here.


I also scanned the thrifted scarf as a free tablecloth printable.


I hope to have other printables as I continue with this project.  I also plan to post instructions for the furnishings and decorations.  Below are links to some of the items I plan to make:


Encanto-Inspired Kitchen by My Froggy Stuff

Mini Tiles from polymer clay by Mo Clay


This post is a work in progress.  I hope you will feel free to check back and see new developments to the Traveling Cantina!


Comments

Popular posts from this blog

Season 1, Episode 1: A Long Way from Home

The Scrapbook: An Unauthorized Riverforest Bends Fanfic

Lunar New Year